Showing posts with label Celebrate. Show all posts

Monday, April 20, 2015

Hello Kitty Birthday!

It's been almost a month since this precious girl turned 6. This was a hard birthday for this mama. She is my oldest and I couldn't help but reminisce of when I turned 6. It's the earliest birthday I can remember of my own. I look back to that day that I turned 6 thinking I was changed and different. Thinking that I was growing up and I started to feel much older. LOL at only 6 I had those feelings.

Perhaps it was from this memory that this birthday for my little girl was a little tougher than the previous. The years are going by so fast and I'm just wanting to take a step back and enjoy the present.

My sweetheart has been so in love with Hello Kitty for some time now and I was excited to decorate her party for what she loved so much! We bought her this cute dress from Target and paired it with a pair of black leggings and the Hello Kitty hat. You can't see it now, but there is a Kitty on that hat.

Tuesday, March 17, 2015

Tissue Tassel Garland


My daughter's 6th birthday party was this past weekend and I'm excited to start sharing some of the deets with you. The first detail I wanted to share in a post all its own was the tissue tassel garland!

I've been dying to make one of these and the color scheme just seemed to fit so well. This is also something perfect for spring, Easter, or an "April Showers" baby shower theme! I love the pastel rainbow colors!.


Materials used
tissue paper in assorted colors
crafting thread
scissors
hot glue gun

Step One:
Fold your tissue paper in half twice.


Step Two:
Along the second fold cut tissue paper in half. Put one half aside. Fold the other piece of tissue in half length wise aka hot dog.


Step three:
Fold over a 1 inch flap. This is to help guide you when cutting so you don't cut too much.


Step Four:
Cut length wise starting at the folded corner. Cut about a 1/4 - 1/2 inch apart. Do not cut into the folded area.


Step Five:
Open up the folded tissue and cut on the folded edge from top to bottom to form two separate pieces of tissue.


Step Six:
Set one piece aside and unfold the other piece of tissue.


Step Seven:
Roll the tissue paper.


Step Eight:
GENTLY twist the tissue starting at the center and twisting an inch in each direction.


Step Nine:
Make a small loop and begin twisting the already rolled tissue paper together adding a dab of hot glue as you go. Add a dab of hot glue at the start of the loop, at the end, and throughout the twisting to ensure a secure set.


Step Ten:
complete the process with as many tissue tassels as you like. Once you have assembled the amount you desire, fluff them down so none of the tassels are curled up. String them on the crafting thread and hang in a fun place!


This is such an inexpensive and easy craft to add some fun and festive color to your season or occasion. I love the versatility with the colors and you can save the tassels and stitch it throughout the year.


 photo bloggersig.jpg

Thursday, December 11, 2014

Ryleigh's 3rd Pony Birthday Party


My youngest turned 3 last month and I finally managed to get some pictures up of her party. It's been such a whirl wind lately with finishing up my degree, Girl Scouts, and work. I just have one week left to feel the freedom from school!!

She is in love with all things pony so naturally that was the theme. I a little down on myself because once the guests started arriving the camera was put down... even for the singing of the birthday song:(


I had vases of pink and cream gerbera daisies all around. It was such a pretty detail. I got the flowers at Trader Joe's. I just love their selection and they always have exactly what I am looking for.


Party favors were presented in paper goody bags. I cut a doily up in 4 quarters and used rubber cement to add them as an accent to the bags. The doilies were purchased from the Dollar Store. I used a chalk marker to write "Thank You" on each of the bags. You can pick those up at Walmart or a craft store.


I made the cake myself. I had this elaborate plan but when it came down to the night before and I didn't have the right cake pan I went with the tried and true 9 inch cake with the rose frosting details. This method of frosting is super easy to accomplish and everyone always compliments me on it. We had a left over pony from having extra party favors so that was part of the topper along with a "Ryleigh" sign. I used pink chevron straws, that I purchased from Walmart, as the poles to hold up the sign.

I think it turned out really cute!

I also added the sprinkled doughnut holes for fun and whimsy.


Cowboy and cowgirl hats were strung up for each kid to wear throughout the party.
The kids loved this idea! 


Where you can find this stuff....

Birthday banner : studioGdesigns
Cowgirl printable signs: studioGdesigns
Swirl suckers: Party City
Cowboy/cowgirl hats: Dollar Store
Cake topper pony & favor: Dollar Store


 photo bloggersig2.jpg

Friday, March 14, 2014

Tangled Party Cupcake Tower

Last week, I posted my daughters 5th Tangled birthday party! I have gotten several emails on the cupcake tower and thought I would explain in more detail how I created this feature.

Materials used....

Bird house from Michael's
Pringles Can
Serving Platter
Acrylic paint

I first decorated the bird house to resemble tower from the movie. I used purple and blue paints for the roof. I used tan and brown for the sides of the tower. I created the vines effect and flowers. This adds a little dimension to the house that was missing before.


I used a Pringles can for the tower. First, I coated with a base in medium gray. Then I took a thick brush and filled in the bricks with both darker and lighter tones of gray.


To assemble, I flipped the can over and used a hot glue gun to attach the house to the bottom of the Pringles can.


Then I placed the open end of the can over the serving platter handle.
You're done!! 

You can add a braid, which is absolutely adorable, to hang out of the peep hole in the bird house, like I did above. I just used yellow yarn. This is a great way to add a personalized touch to a party with out spending a whole lot of money.

 Cost Break down:

  • Birdhouse: $4.99 @ Michael's
  • Ikea serving platter: $14.99
  • Pingles can: $1
  • Acrylic Paint: $1/color = $8
Total cost was  $29.00
The best part, you get to use the serving platter for future parties!
 
If you like what you see here, be kind and follow along on Follow on Bloglovin


Thursday, March 6, 2014

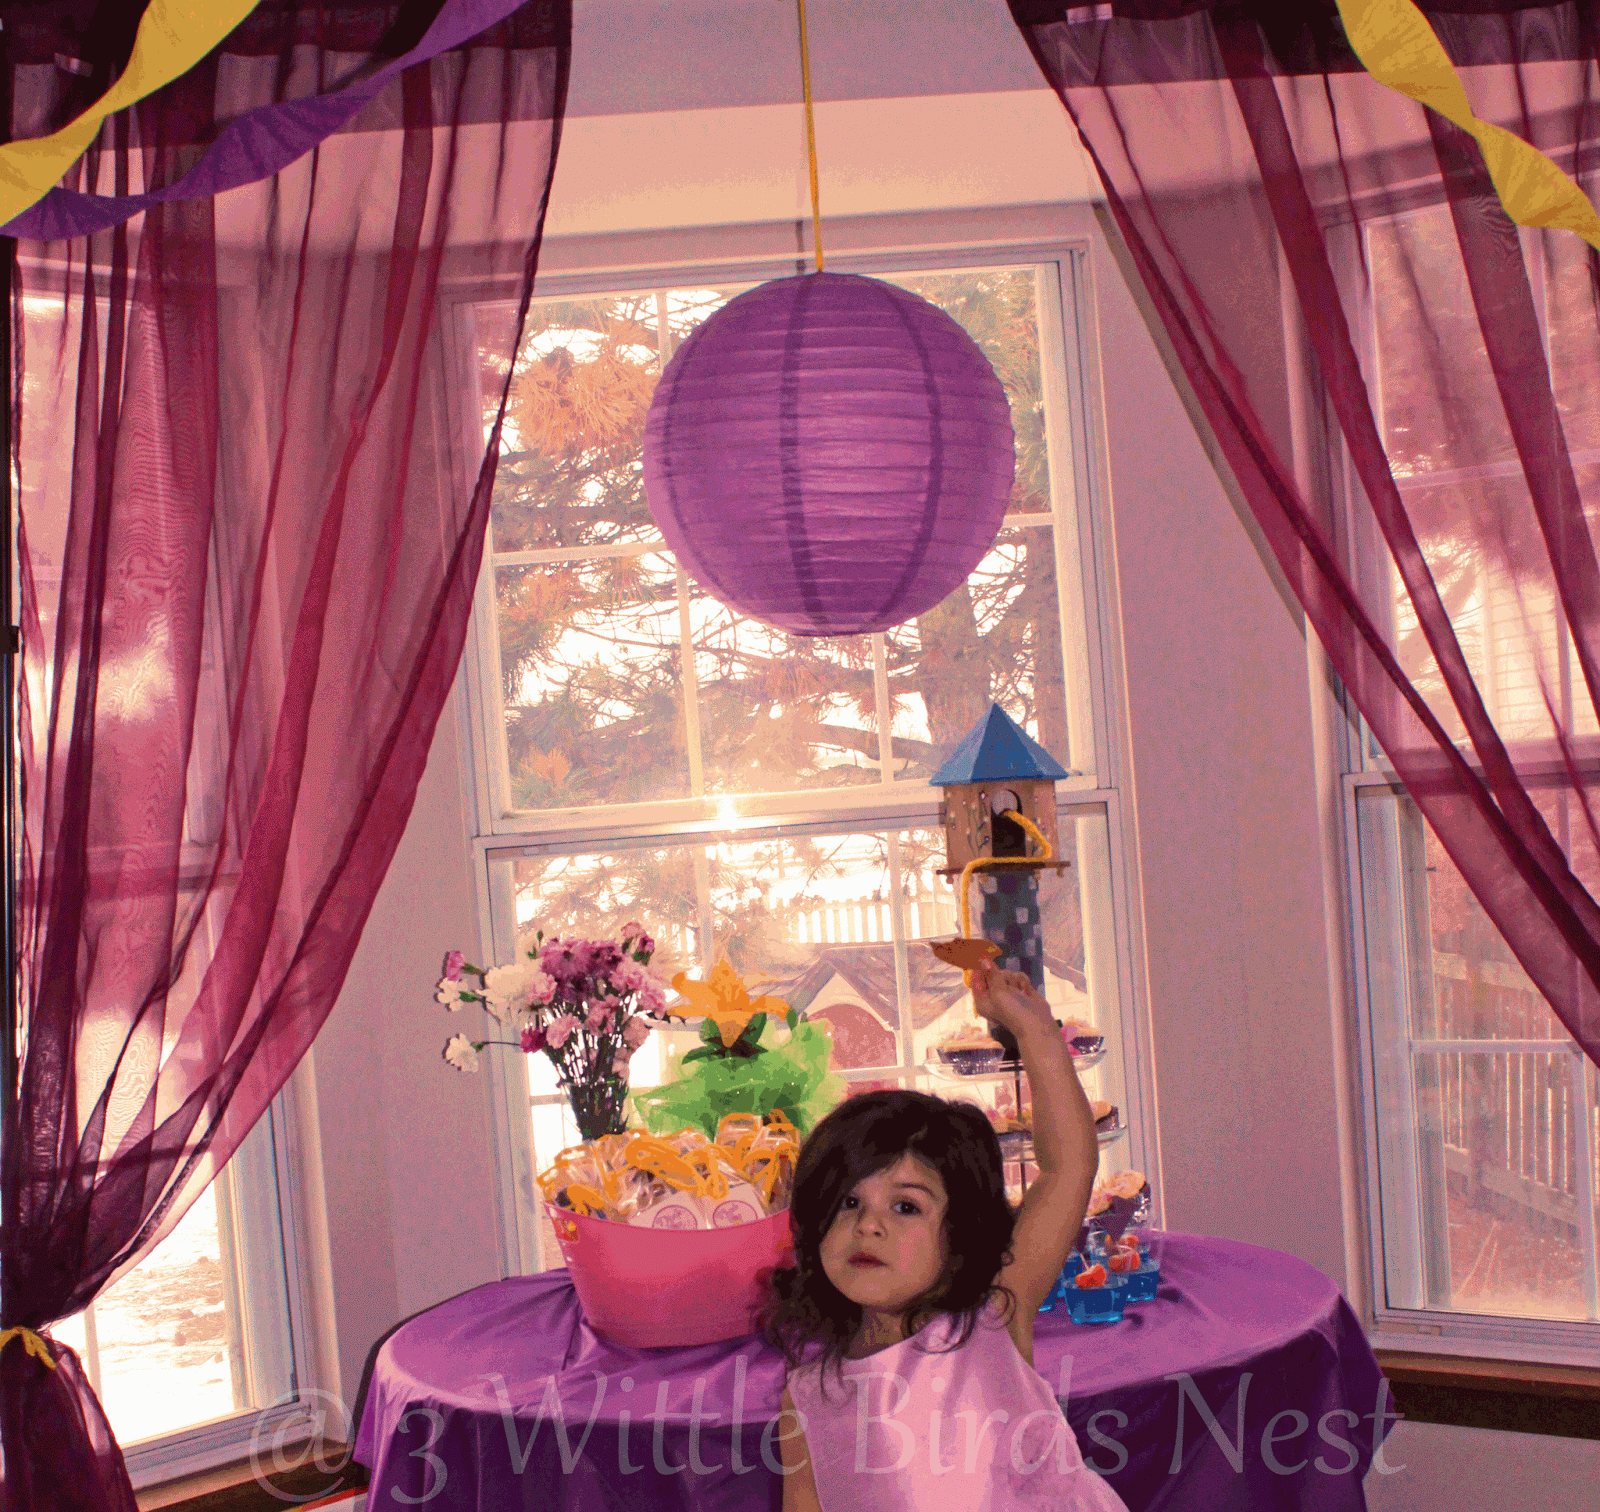
Bella's Tangled Party

 I'm one of those amateur party planners. I see all these pretty party planning blogs and websites and I'm like a kid in the candy store. Perhaps, if I had an endless budget and all the time in the world to plan, I could accomplish one of those parties one day. For now, I like to dabble in planning my kids parties....

My girl has been obsessed with The Tangled movie since it came out and I have been excited to plan this one for a couple years! Last year, we threw her a Tinkerbell Neverland party. Mainly for the fact that, when I asked her what kind of party she wanted, Tinkerbell was the first thing to leave her mouth. Little did I know she would change her mind the next week, but I was committed to the idea once I started planning. This happens with little kids, don't you know? They change their mind on the last thing they can remember.

You may remember the invitations here...


Tangled Cupcake Tower


Party Favors: Rapunzel Watercolor Paints (Target) Mini Canvas (Hobby Lobby) and Mini Easel (Hobby Lobby).


Jello boats: I've seen this idea everywhere and I really loved the concept of jello for a side snack for the kiddies.


Flower Gleam and Glow.....


Canvas Painting: I created this one myself! Who would like to see a tutorial on this?


Sneaker Peaker....


Photo bombing...


Game: Pin the nose on Flynn Rider. I had the kids draw their own noses on a separate sheet of paper. They all had a similar concept, that a nose resembled a pig nose.


Birthday Girl!!! She was all smiles about her party!


I hope you enjoyed this picture gallery of Bella's Tangled Party!!! How are you at party planning? Do you go all out or do you dread the party planning?


If you like what you see here, be kind and follow along on Follow on Bloglovin

Linking up with Bloom Designs !

Sunday, February 23, 2014

Kale Chips, Red Wine, and 30


Recently, I have been trying to be more conscience about my health. Last year, I made a vow to be fit by 30 and it looks like the opposite happened. I gained 15 pounds. I'm 30 years old and I'm at the heaviest I've ever been.

It started with my 5 year old informing me that I needed to take care of the mustache on my lip... It must have gone a little too long between waxes, but it was all I needed for me to take an extra second in the mirror and realize how the past ten years have really aged my face. I have found that as I age, magical black hairs pop up all over my face. I don't remember worrying so much about the hair on my face. Not a fan!

The past couple of weeks I've really committed to at least 4 days a week of 45 minutes of stationary cycling. I've not been working out for the past couple years and there is really no excuse anymore, as I continue to gain year after year. I've also picked up on some cross training and yoga.

There is something invigorating about finally taking care of yourself. I have put myself last in a lot of areas and I finally realize if I keep it up, the people I care for wont have me around as long as I would wish.

Not that I want to turn this into a fitness blog, because I am not expert at that, but my wellness has become a big priority for me recently and I hope it becomes a lifestyle change. So you may see a few fitnessy posts in the future.... I hope you don't mind.

I've also managed to take some time for myself and unwind. Relaxation is gold for me and it's made a difference in my overall well being. Friday night I had decided to indulge in a little red wine and wanted a snack to go with it. Watching my calories has been another practice, so I brainstormed what I could make.

Amazingly, kale chips rock and pair wonderfully with red wine!

Kale Chips


What you need....

10 leafs of kale
Garlic powder
Salt
Pepper
Olive Oil

What you do....

Preheat oven to 375.

Chop the kale leafs and discard the stem. Lay the chopped kale out on a baking dish (make sure to spray your baking dish first)

Drizzle the kale lightly with some olive oil. Lightly season with garlic powder, salt, and pepper.

Bake in oven for 15 minutes.

Take out of oven and allow to cool for 10 minutes.

Enjoy!


I really liked the way these turned out. I can see these kale chips being very versatile and using then as a casual snack or dressing them up for when we entertain. Next time I might add a little chili pepper or cayenne.

Thursday, February 13, 2014

Valentines: Date Night Bucket List!

A friend of mine from work had mentioned how her hubby took it upon himself to do the sweetest thing ever! He created her a bucket list of dates.

When I told my hubby about the idea, he was equally excited as I was. Together we created a list of 48 exciting dates to liven up our marriage and put the spark back into date night!


I decided to take it a step further and surprise him on V-Day... Shhhh I pasted the bucket list on the inside of a smash book I created. This way we can check them off one by one and have the memories all in one place! I hope you all have a very fun filled Valentine's Day!!


Thursday, February 6, 2014

Sneek Peak: Tangled Party Invitation


Here is a preview of some exciting Tangled Birthday Party goodness!!! I created these invites myself with the Rapunzel graphic I purchased here. It's so easy to create your own digi invites!

You can also purchase backgrounds, frames and fonts to make your invitations unique and custom!

If you don't have the fancy Adobe Illustrator or any CS6, you can simply use Microsoft Publisher, which should be included in a Microsoft Office package you probably purchased with your computer.

I am thinking about writing a post for a step by step on how to create your own digital invites. Is this something you all would be interested? Email me if you have any questions on this!